


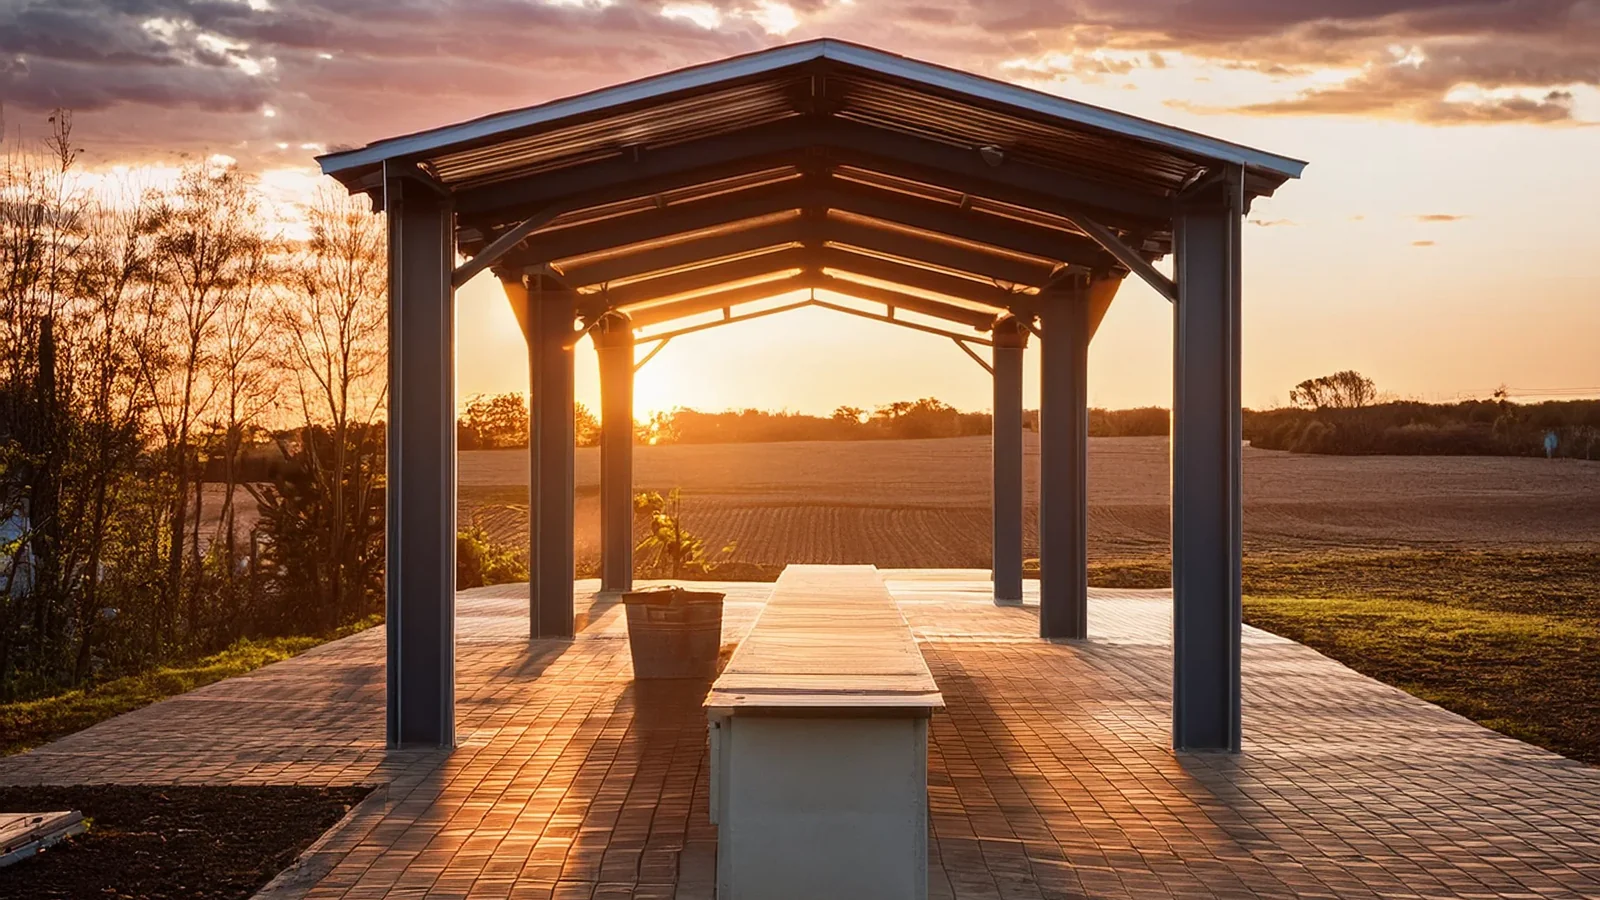
Yes — most steel carport kits can be assembled yourself if you’re comfortable with basic DIY projects. Every component arrives pre-cut and pre-drilled with detailed instructions, and a standard carport goes together with common tools. If you’re less experienced, or the carport is large, hiring a local contractor for the assembly is a reasonable choice. Either way, Toro designs, engineers, manufactures, and ships the kit; the foundation and assembly are handled by you or your contractor. Here’s what it takes to install a steel carport yourself.
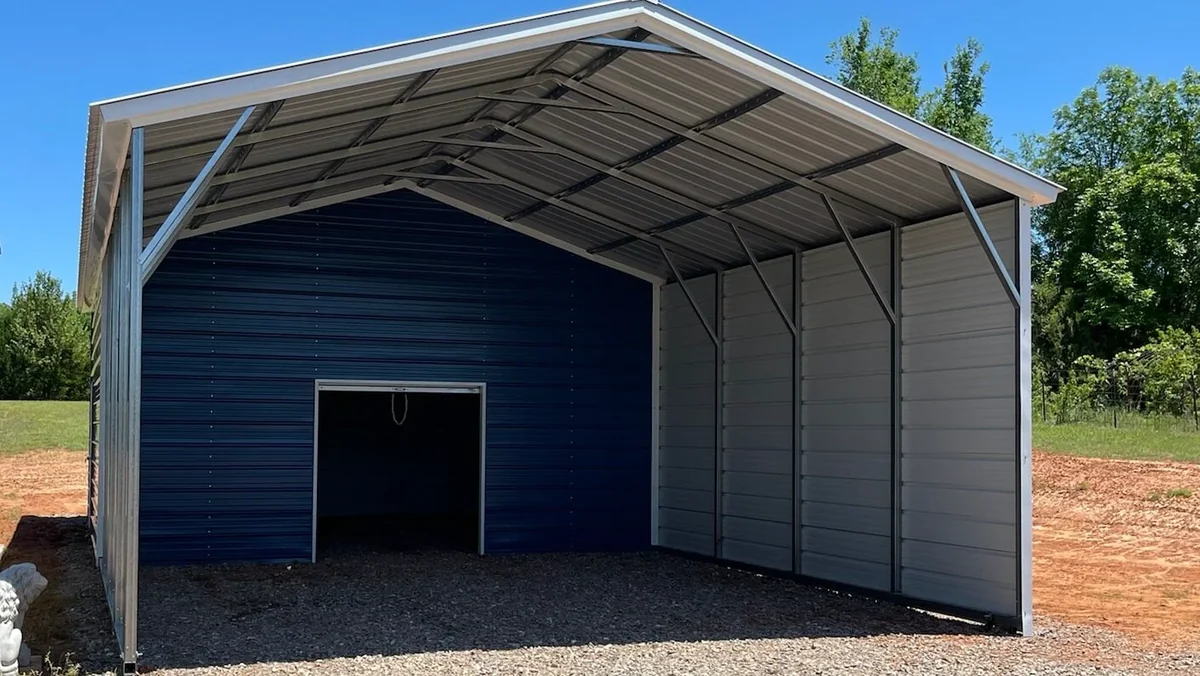
Pros of a DIY Carport Kit
- Save money: You avoid a contractor’s labour costs.
- Straightforward assembly: Prefabricated, labelled components and detailed instructions make a kit far easier than building a carport from scratch.
- A sense of accomplishment: There’s real satisfaction in putting up a structure yourself.
- New skills: You’ll learn construction basics you can use on future projects.
Cons of a DIY Carport Kit
- It may take longer: An experienced crew works faster than a first-time builder.
- Risk of errors: A missed step or poorly anchored post can compromise the structure, especially in high winds or heavy snow.
- Safety: Lifting panels and working at height carries real risk. Use protective gear, the right tools, and a helper.
Plan Your Carport First
Before ordering, decide how big the carport needs to be. How many vehicles will it hold, and how large are they? Will you shelter a truck, RV, or boat that needs extra height? Confirm you have the space on your property, with room to work around the structure during assembly.
Then check local regulations. Many municipalities require a permit for a carport, along with setback and height rules. Your engineered drawings support the permit application, so sort this out before assembly begins.
Choosing the Right Footing
A carport needs to be securely anchored — the wind uplift on an open-sided roof is significant, so an unanchored carport isn’t safe. Your engineered drawings specify the footing and anchorage for your site. Common approaches include:
- Standard footings: Holes dug at each post location, filled with concrete, with the posts or anchor bolts set into them. Depth depends on local codes and frost depth — often deeper in cold climates. Best for firm, stable soil.
- Caisson footings with base plates: Deeper drilled footings that reach firmer soil, with a base plate on top to spread the load. Well suited to sandy, clay, or soft soils.
- Spread footings: Wider bases at each post that distribute load over a larger area, used for bigger carports or loose soil.
- Concrete slab: A full slab gives a clean parking surface and a solid anchoring base, and suits carports that may be enclosed later.
Step-by-Step Carport Assembly
Your kit’s instruction manual is specific to your building — follow it closely. The general sequence is:
1. Prepare the Site and Foundation
Clear and level the area, check for underground utility lines, and complete your footings or slab to the engineered specifications.
2. Check Your Materials
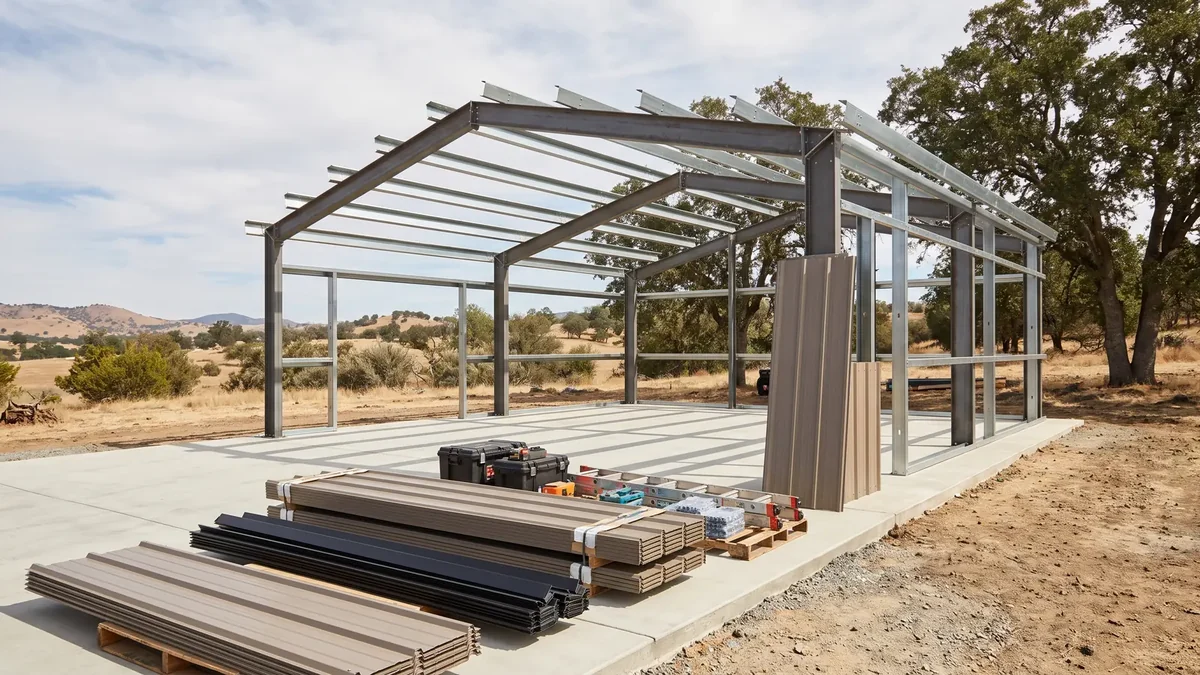
Lay out and cross-check every component against the material list: posts or columns, rafters or trusses, purlins, bracing, roof panels, trim, and fasteners. Have a drill, wrenches, a level, and a measuring tape on hand.
3. Set the Base and Posts
Anchor the base rails or column bases to the foundation, then raise the uprights and brace them plumb and square.
4. Install the Roof Framing and Purlins
Attach the rafters or trusses, then fasten the purlins — the horizontal members that carry the roof panels — aligned precisely with the frame.
5. Add the Roof Panels
Start at one end and work across, overlapping each panel as the instructions specify for a watertight seal, and fastening it to the purlins with weather-resistant screws.
6. Finish With Caps and Trim
Install post caps to keep moisture out of the posts, then add trim along the edges and corners to seal the joints and give the carport a finished look.
When to Hire a Local Contractor
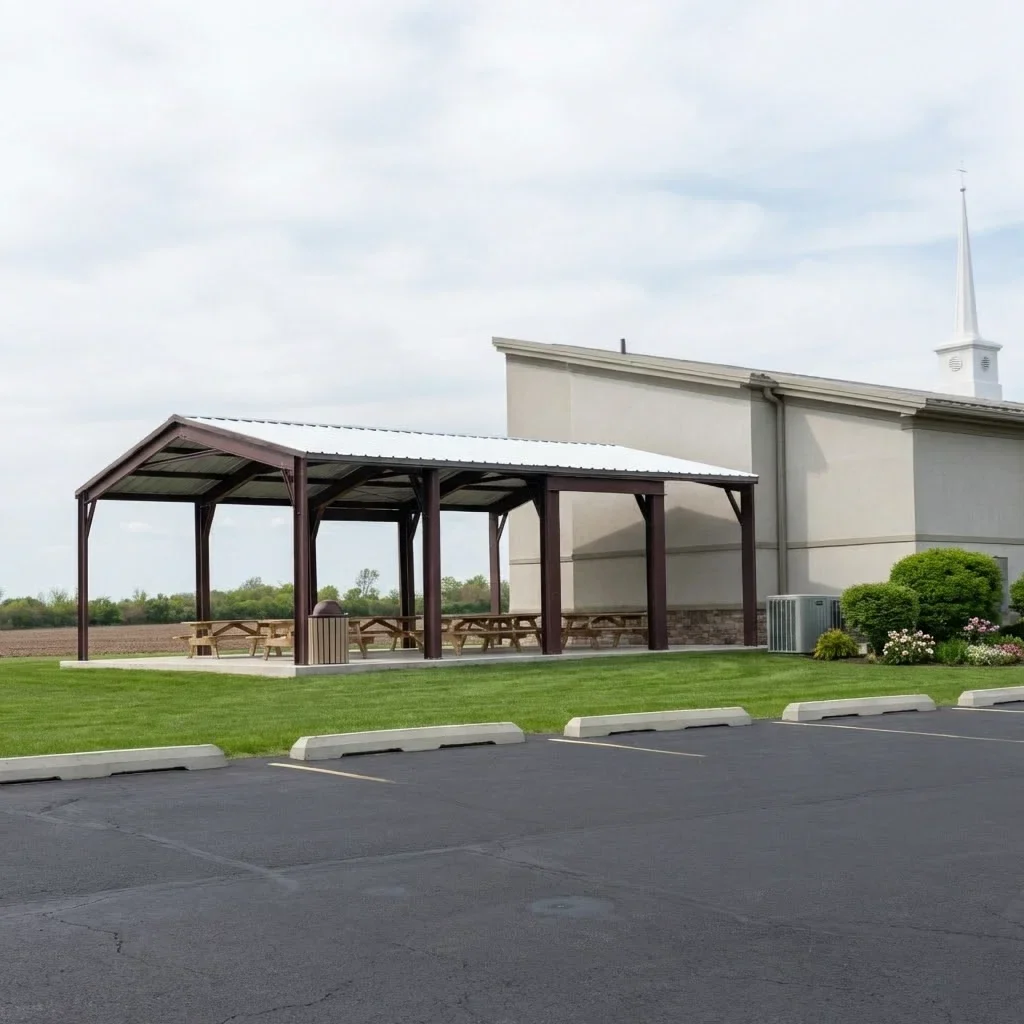
If you’re unsure about any step, don’t have helpers, or are building a large or tall carport, hiring a local contractor to assemble it is money well spent. A correctly anchored, square structure is what lets the carport handle the wind and snow loads it was engineered for.
Toro’s Carport Options
Toro offers two carport systems: the straight-wall M-Model carport, cold-formed and manufactured directly by Toro, and the arch-style C Model carport, manufactured by our sister company Future Buildings and sold through Toro. Both are made with Galvalume Plus steel and can be customized to shelter vehicles, boats, RVs, or equipment. Toro’s steel building kits start at $19 to $26 per square foot for the shell, depending mainly on your site’s snow, wind, and seismic requirements.
Permits, Codes & Engineering
Design loads follow the ASCE 7 standard from the American Society of Civil Engineers, referenced by the International Code Council‘s International Building Code, or the National Building Code of Canada. Toro’s in-house engineering team calculates your carport’s loads and anchorage for its specific address before it ships.
Related Building Types
Carports | M-Model Carports | How to Build a Steel Building
Get Your Steel Carport Kit
Toro Steel Buildings engineers every carport kit to your vehicles and your site. Request a free quote to get started.